Design Your Invitation Card: Styles, Colors, Photos and Motion
Updated September 2026. The card editor has changed a lot since this post was first written, so here's how it works now.
The invite card is the thing your guests see first, in the group chat or on the fridge. It should look like your party. The editor is built so you get there in a minute and can keep fiddling if you enjoy that.
The parts of a card
Every card has the same building blocks. Change any of them and the preview updates as you go.
Style. Seven layouts to pick from:
- Poster. Big title, clean and loud. The default for most parties.
- Big Emoji. One large emoji carries the card. Works well for kids' parties and casual stuff.
- Ticket. Looks like an admission ticket, with a stub. Good for work events, launches, shows.
- Polaroid. Your photo in a polaroid frame with the details underneath.
- Framed. A thin frame and a serif title, for weddings and formal dinners.
- Monogram. Initials in the middle, understated. Anniversaries, engagement parties.
- Photo. Your photo fills the card with the text on top.
Each occasion suggests a few styles that fit, and you can pick any of them.
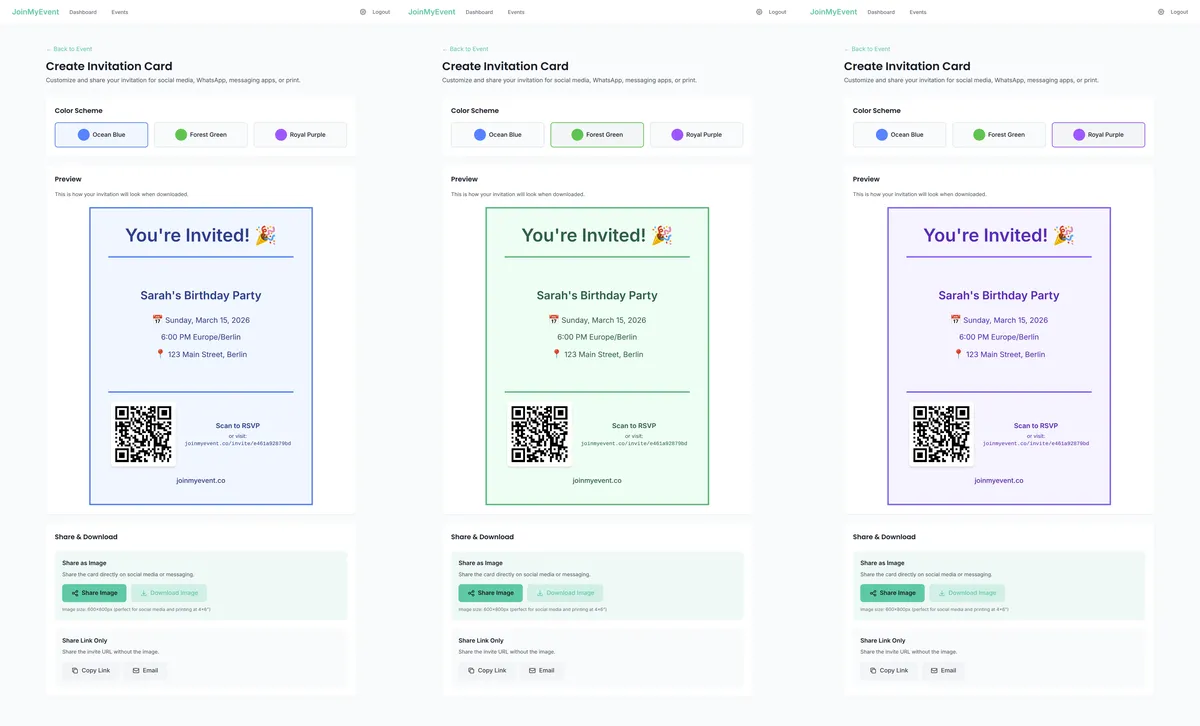
Color. Pick one of ten colors or keep the theme color. The card, the RSVP page and the confirmation page all follow it, so guests see the same look from the first tap to the last.
Photo. Upload one for the Polaroid and Photo styles. A phone picture is fine.
Emoji. Pick the one that fits, or none. The kids' birthday invite maker has a set of party themes (dinosaur, unicorn, space, superhero and so on) that set the emoji and color in one tap.
Motion. A short animation over the card: balloons, confetti, both, sparkles, shimmer, embers, dots, or none. It plays on the invite page and in the GIF or MP4 export.
Title and details. "You're invited" is the default title. Change it to anything. Date, time and place come from your event and sit on the card automatically.
Link. Choose how guests get to the RSVP page from the card: a QR code, the short link in text, or no link at all if you only want the picture (that last one needs a free account).
Starting from a template
If you'd rather not start blank, the template library has ready-made cards by occasion. Pick one and it fills in the style, color, emoji and motion. Then change what you like.
Downloading and sharing
Three ways to get the card out:
- Share. On a phone this opens the share sheet, so the card and the RSVP link go straight into WhatsApp, Messages, or wherever your guests are.
- Download as an image. A PNG for the group chat, social media or the printer.
- Download as a GIF or MP4. The animated version, for stories and chats that play video.
Whichever you pick, the RSVP link or QR code is on the card, so the picture alone is enough for guests to reply.
The credit stamp
Free cards carry a small "Made on joinmyevent.co" credit in the corner. Everything else is included: all styles, colors, photos, motion, the RSVP page, unlimited guests.
If you'd rather have a clean card, removing the credit for one event costs $2.99, or $5.99 if you want it gone from the animated GIF or MP4 too. A 3-event pack is $8.99 and the credits never expire. A Host Pass ($19.99 a year) or Lifetime ($149.99) covers every event. You decide at export time, after the card is done.
A few tips
- Keep the title short. Under about 30 characters looks best on every style.
- A busy photo fights the title in the Photo style. Polaroid is the safer choice for a group picture.
- Download once before you share, and look at it on your phone. What you see there is what your guests get.
You can start a card right now without an account, and share it in about a minute. Have fun with it :)
Gleich anwenden
Erstelle Deine Einladung
Kostenlos, in etwa einer Minute, und Deine Gäste sagen ohne Konto zu.
Erstelle Deine kostenlose Einladung