Create and Share an Event Invitation in Minutes
Updated October 2026.
This is the short version of how an invite goes from an idea to a headcount on JoinMyEvent. It takes a couple of minutes, and none of it needs an account to start.
For guest names, questions, the potluck list, updates and the CSV export, you need a free account. Your guests never do.
Step 1: Pick an occasion or start blank
Start at /start, or from one of the occasion pages if you already know what you're planning. The occasion pages preset the theme and the wording, so a kids' birthday starts with a kids' birthday card and a BBQ starts with a BBQ card. There's one for every occasion.
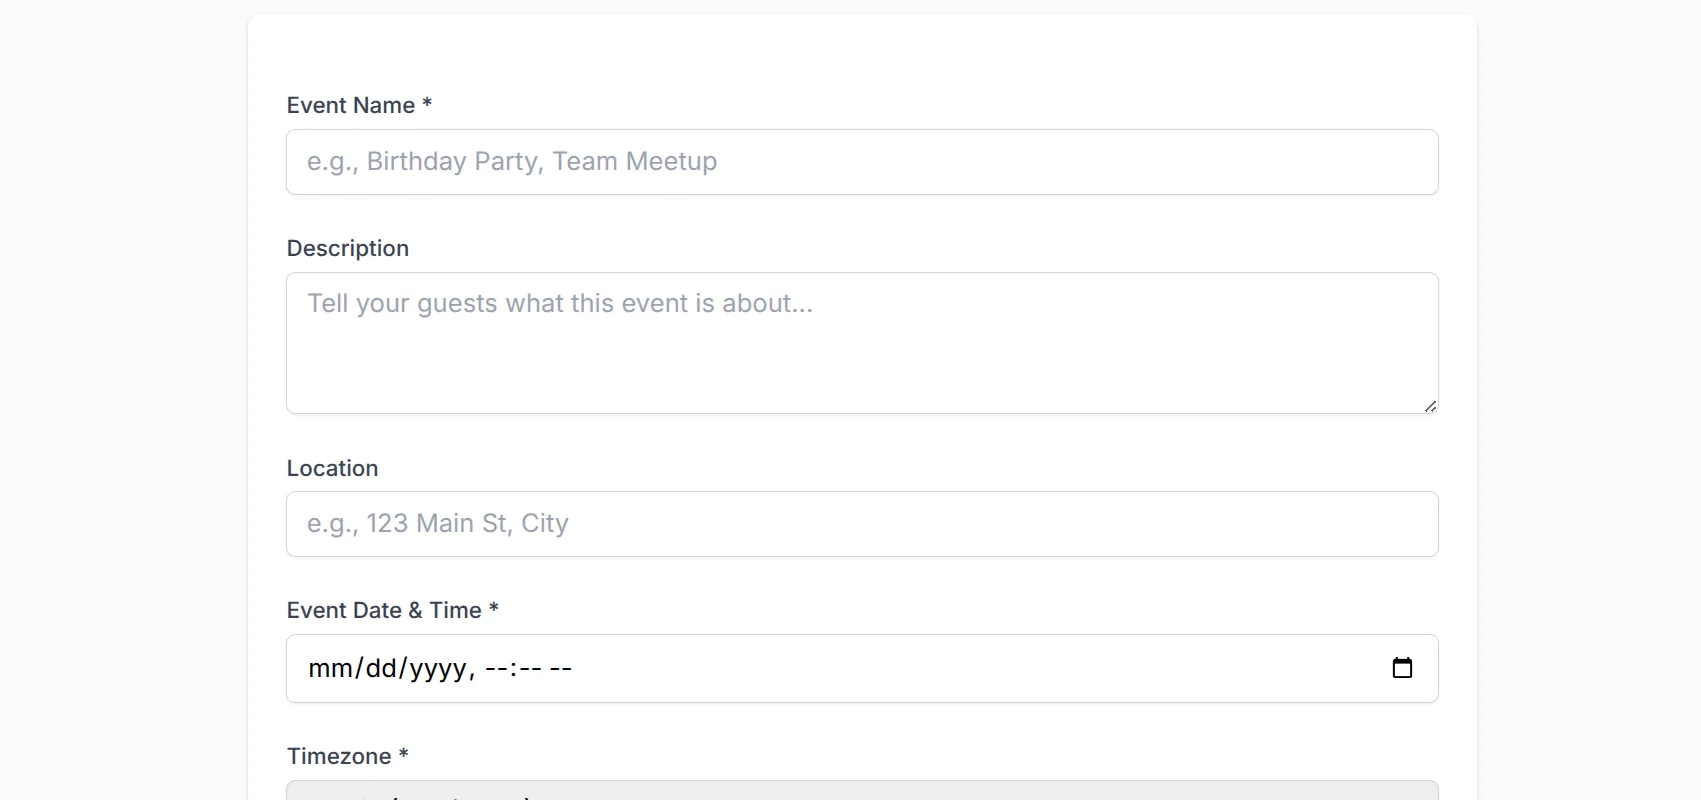
Fill in the basics: event name, date and time, place, and an optional description.
A few things are handled for you:
- The timezone is picked up from your browser, and guests in another timezone see the time converted on their side.
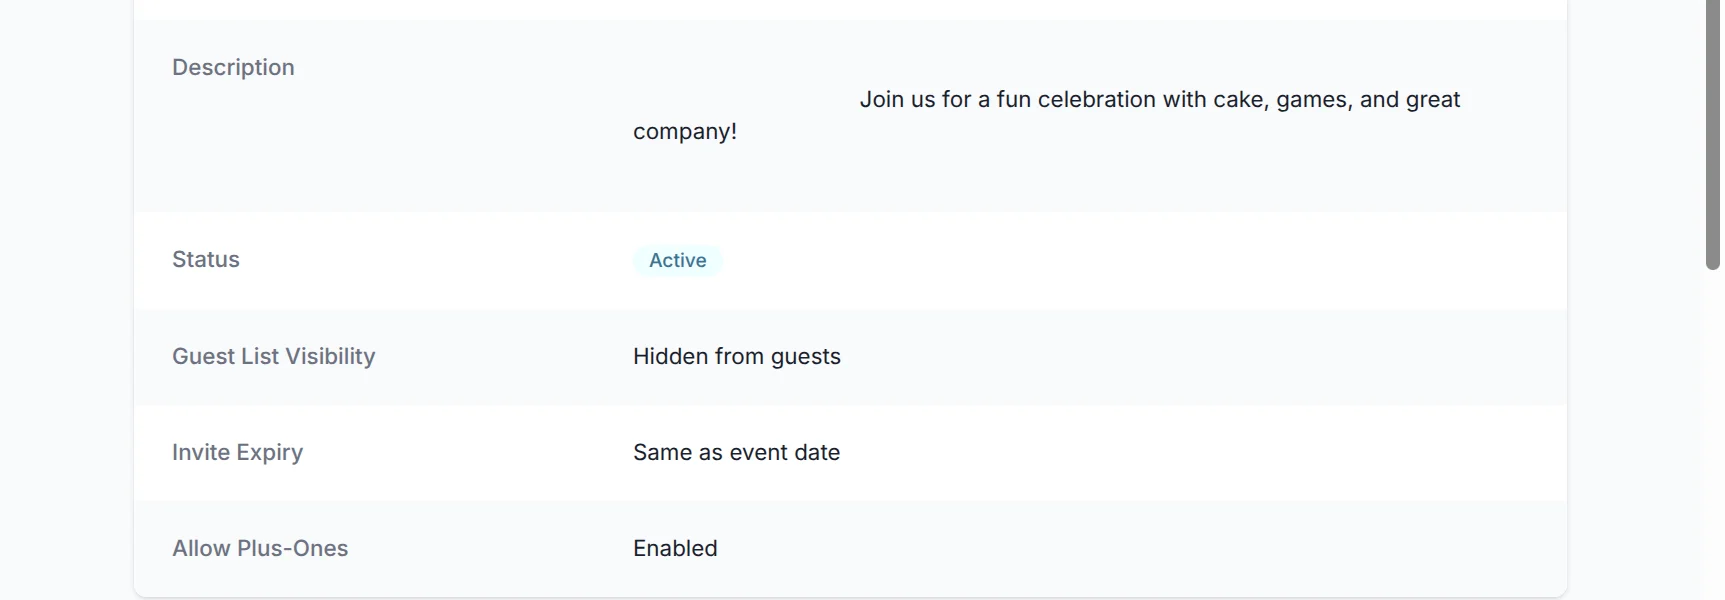
- Plus-ones are on by default. Turn them off for a fixed guest list.
- The invite link stops taking replies on the event date unless you set another expiry.
Step 2: Design the card
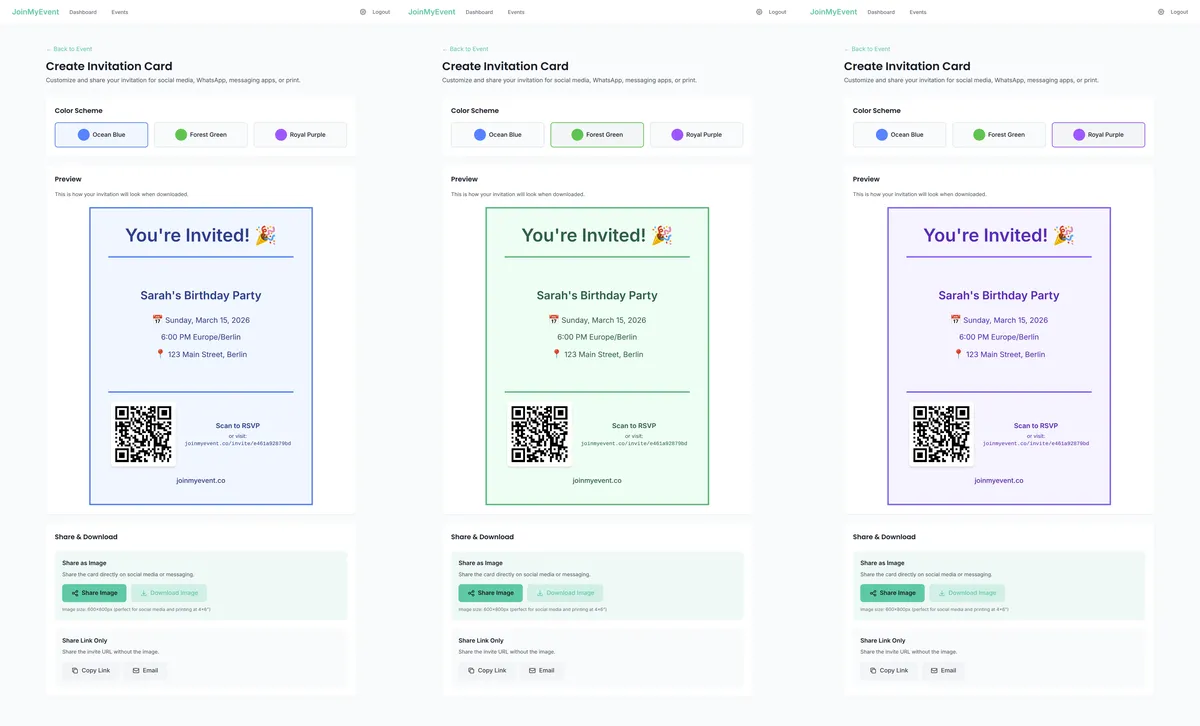
The invite is a card. Pick a style, change the color, add a photo or an emoji, choose a short animation if you like. The event name, date and place are already on it, and so is a QR code that leads to the RSVP page.
You can download the card as an image, a GIF or a short video. That's useful when the invite also needs to live outside the link: in the class chat as a picture, on the fridge, or on a poster at the venue. The link and the QR code on the card bring people back to the RSVP page.
Step 3: Share one link
Copy the link and paste it where your guests already are. WhatsApp, iMessage, a group chat, an email, or printed as a QR code. There's no guest list to upload and nothing to send through the site.
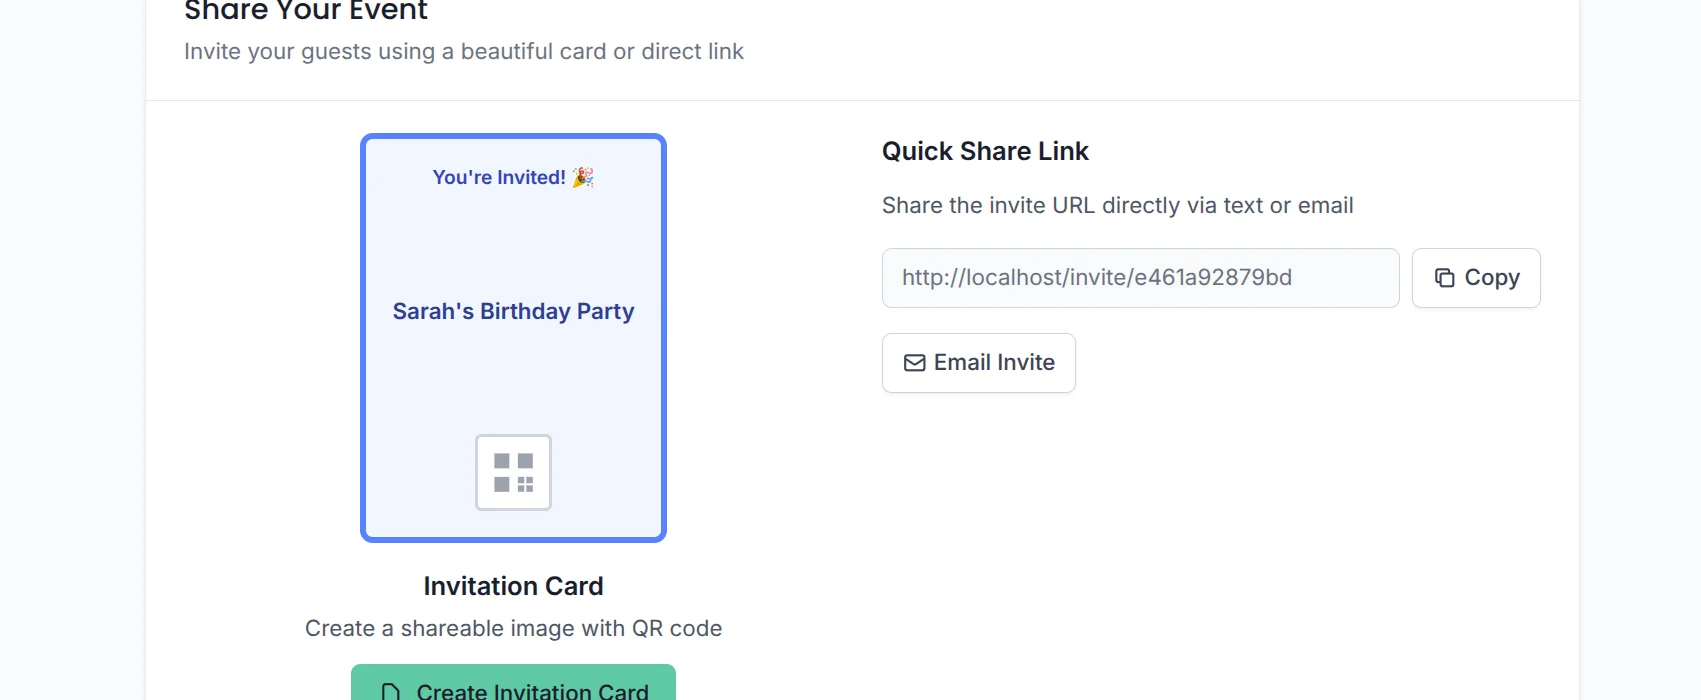
If you want to see where the opens came from, the share buttons tag the link so opens from the group chat and opens from the printed card show up separately in your event insights.
What guests see
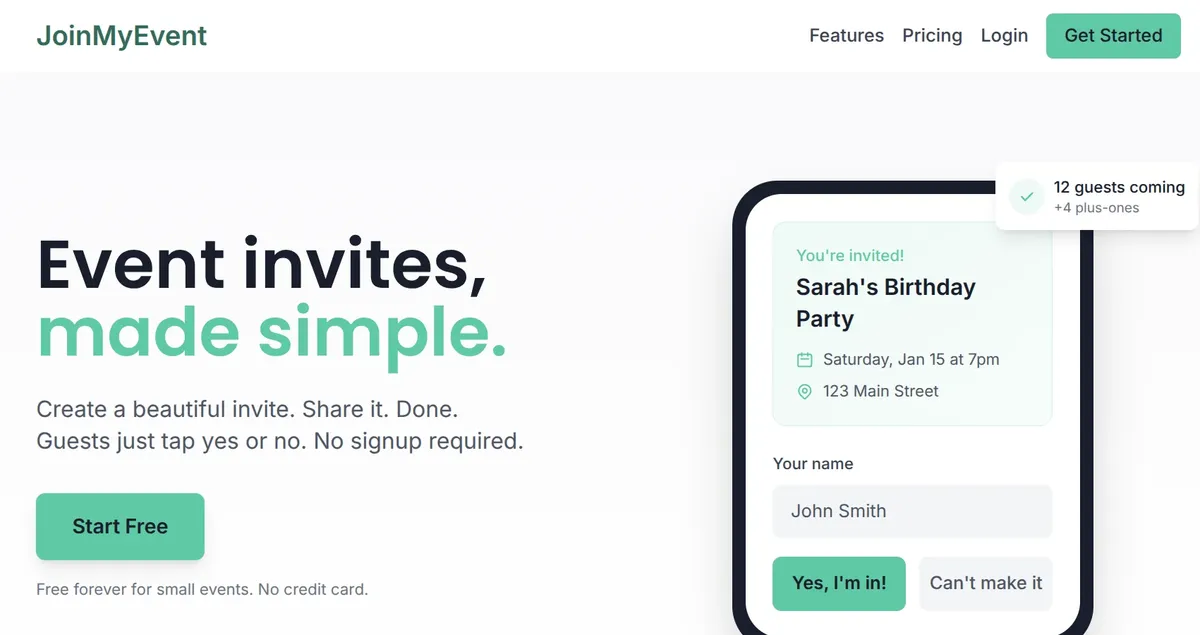
Guests open the link and see your card, the event details, and a short form: their name, and "I'll be there" or "Can't make it". No account, no phone number, no app.
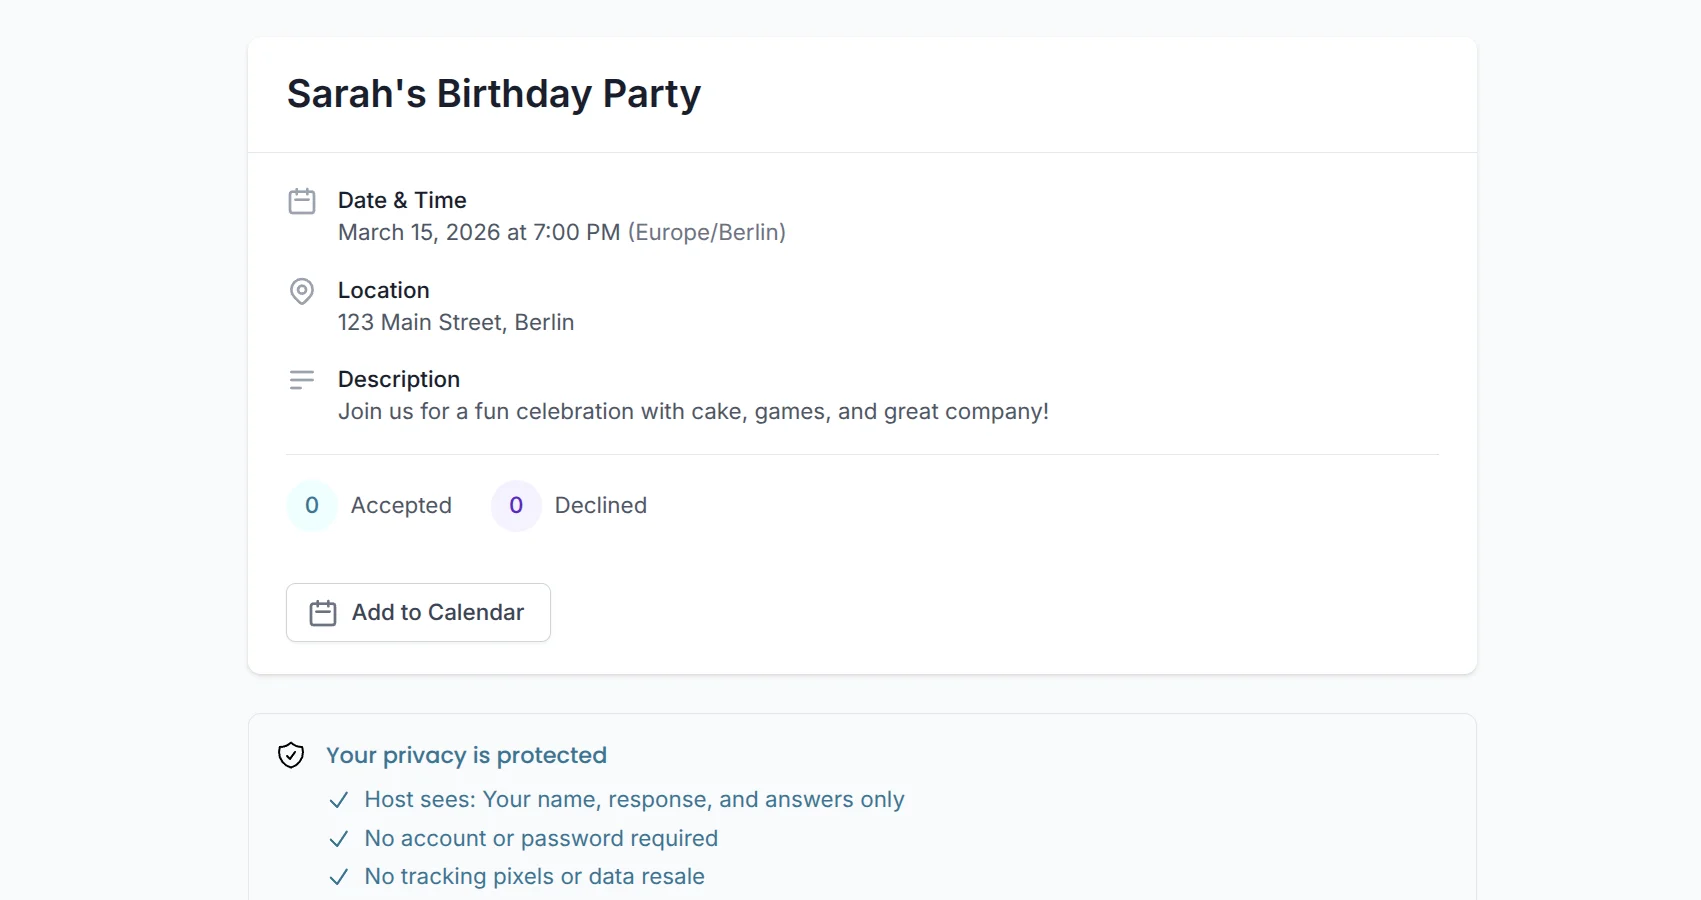
If you allow plus-ones, they add the names in the same form. If you set questions, those show up too: allergies, meal choice, kids' names, whatever the party needs. With the potluck option on, guests pick a dish while they reply.
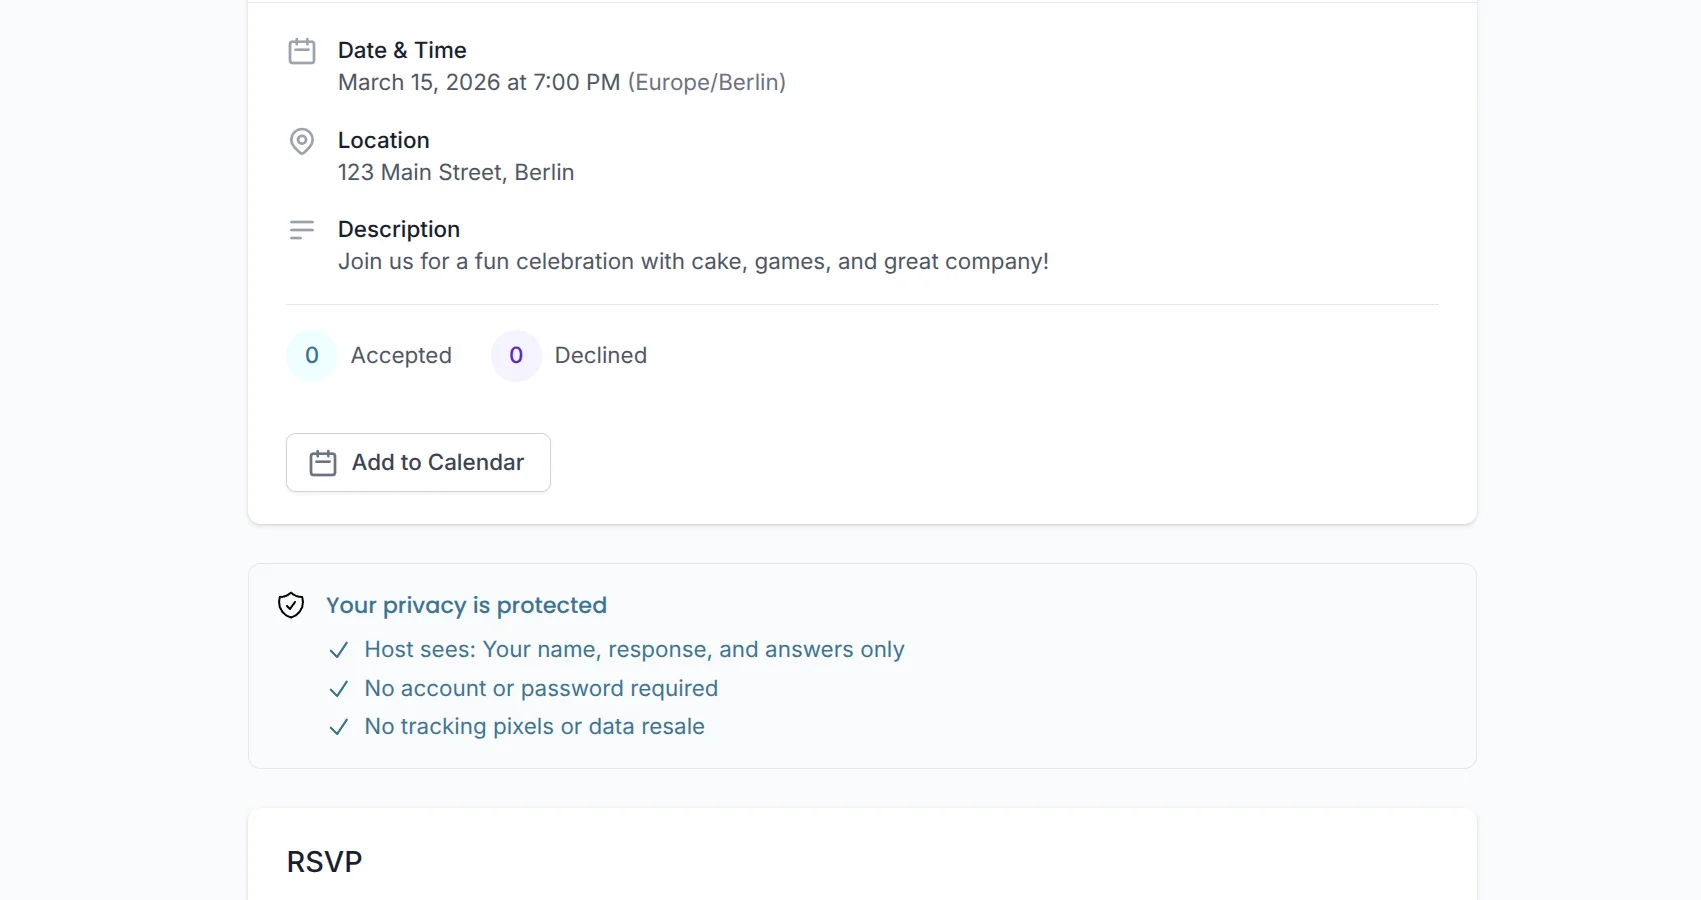
After replying they get a confirmation with a calendar button and a personal edit link, so a change of plans doesn't turn into a text to you. That link is explained in the edit link post.
Step 4: Watch the headcount
Your dashboard shows every reply as it comes in, with plus-ones counted and the answers to your questions next to each name.
From there you can post an update that shows on the invite page (a change of time, a parking note), export the guest list as CSV for the caterer, and give guests a calendar file.
What it costs
Making invites and collecting RSVPs is free, with no limits on guests, events or replies, and no ads anywhere. Free cards carry a small "Made on joinmyevent.co" credit. If you want it gone, that's $2.99 for one event and includes the CSV export, or $5.99 with the animated card. There are no monthly plans.
That's the whole flow. Start an invite and you'll be sharing the link before the kettle boils :)
Coloque em prática
Faça seu convite
Grátis, em um minuto, e seus convidados confirmam sem conta.
Crie seu convite grátis